You find the English translation here.

You find the Portuguese translation here.
Directions:
Dimensions: approx. 9.5 cm long and 5 cm wide
Needle size: 4mm (and 3.5mm) (either double pointed needles or circular needle with long needle rope → Magic Loop)
Yarn: I used a Merino mix (Merino Mix from Schoeller and Stahl), just whatever leftover wool I had lying around (recommended needle size 4 – 5 mm)
Yarn consumption: less than 50g
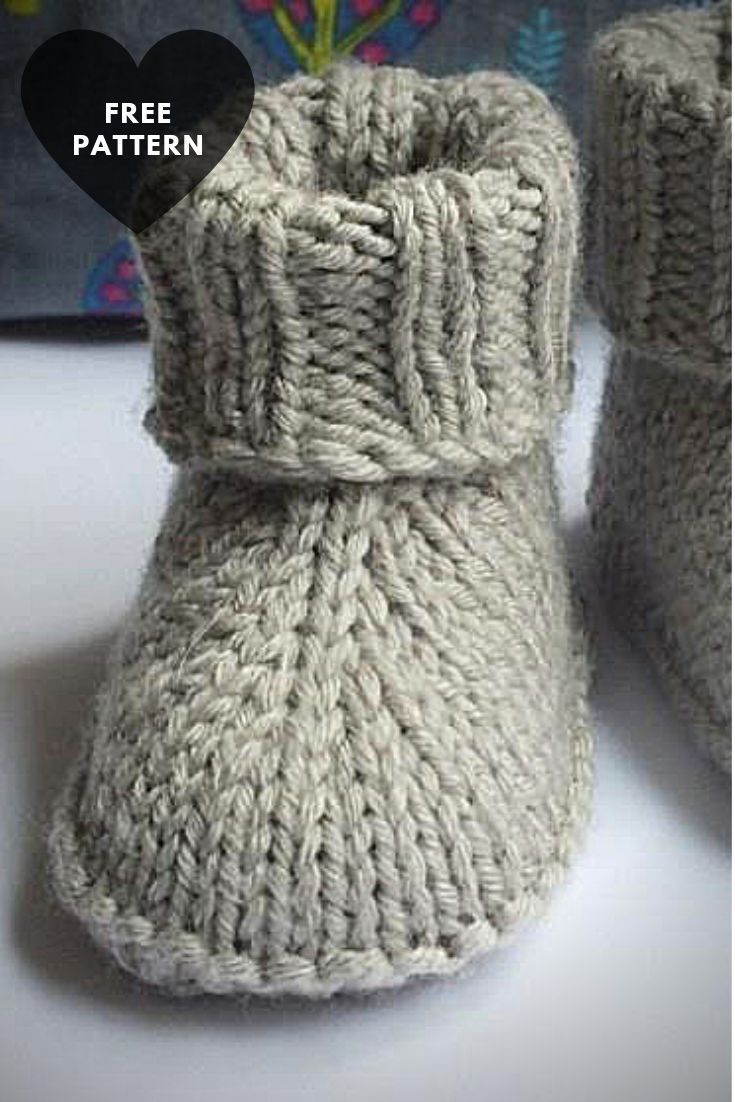
Construction: First the sole is knitted back and forth. Then stitches are picked up from the edge of the sole and the work continues in the round. The shoe is shaped by decreasing and finally finished with a ribbed cuff. The entire construction is seamless.
Abbreviations:
- M = stitch(es)
- R = row
- knit = knit stitch(es).
- m1 = (make one) increase from the cross thread twisted on the right
- K 2 together = knit two stitches together
- purl = purl stitches
Let’s go:
Sole: Cast on 6 sts with 4mm needle. Work in back and forth rows.

- R 1: K all (back row)
- R 2: K1, m1, k4, m1, k1 ( 8 sts in total ) (right row)
- R 3: to kings
- R 4: K1, m1, k6, m1, k1 ( 10 sts in total )
- R 5 to R 33: K all sts (the piece then has a total of 17 garter stitches and is about 8 cm long)
- R 34: K 1, K 2 tog, K 4, K 2 tog, K 1 ( 8 sts in total )
- R 35: to kings
- R 36: K 1, K 2 tog, K 2, K 2 tog, K 1 ( 6 sts in total )
- R 37: to kings
The work now measures approximately 9 cm by 4.5 cm .
Foot part and cuffs: From now on you will work in the round.
- Pick up a total of 40 sts from the edge of the sole all the way around from the back (preferably from the small knobs) : 18 sts from each side edge and 4 sts from the cast-on edge. With the 6 sts already on the sole, there are now a total 46 m . (Note: If there are a few stitches too many or too few, it’s not a big deal. The number of stitches can be corrected later on the cuff.) This back of the sole will later form the outer visible sole of the shoe. The knitted stitches can now be closed in the round. (To do this, mark the beginning of the round. The “heel” will later be at the beginning of the round.)
- Round 1: all li
- Round 2 to Round 6: K all
- Round 7: K 26, place a marker to mark the middle of the toe of the shoe (if the number of stitches differs, the placement of the marker must also be adjusted), knit the remaining sts on the round
- Round 8: K until 6 sts before marker, K 2 together three times, slip marker, K 2 together three times, K remaining sts ( 40 sts ).
- Round 9: K all
- Round 10: K until 6 sts before marker, K 2 together three times, slip marker, K 2 together three times, K remaining 34 sts ( 34 sts ).
- Round 11: all k
- Round 12: K until 6 sts before marker, K 2 tog three times, slip marker, K 2 tog three times, K remaining sts ( 28 sts )
- Round 13: K all (Note: This is a preparation round for the following cuff. It may be necessary to increase or decrease the number of stitches to a number divisible by 4 for a 2-2 rib cuff, or to a straight one if desired Number for a 1-1 rib cuff.)
Now continue knitting in the round for about 7 cm in the preferred rib pattern (for me K2, P2). If you want the cuff to be a little tighter, you can switch to a smaller needle size (e.g. 3.5). But since I tend to knit tightly and I found the 3.5 cuff to be too tight, I stuck with a 4 needle. Finally, bind off loosely or elastically and sew the threads. Knit the second shoe in the same way.
Have fun with it!

 innstyled.com Mode Ideen


